Browsing Tag

DIY

Gift Guides

Uncommon Gifts for the Pinterest Addict

November 28, 2012

She knows her way around the craft store and will try any slow cooker recipe at least once. She’s quick to reuse scraps of fabric, empty mason jars, and even old cardboard boxes. She’s got a new quote daily, which is perfect, because those canvases and sticky letters aren’t going going to put themselves together to create inspirational wall art. She’s the queen of the color palette. The creator of copious cupcakes. The steward of style. Now, thanks to Pinterest, all her DIY dreams are just a click away. But, even the most persistent pinner needs a break during the holiday season. Help her take a load off by presenting her with one of these pinworthy products perfect for the Pinterest Addict.

Instrumental Lighting–Trumpet / Upcycled Sweater Moose Head / Hattie Apron / State Table / Instabook / Felt Animal Kits / Upcycled Sari Clutch / Cake Pops Stand / Flavor Infuser Water Bottle


And while you’re pining for pin-ables, don’t forget to stop by our Pin the Halls Holiday Pinterest Contest for a chance to win a $250 UncommonGoods shopping spree.

Gift Guides

Gift Lab: DIY Lip Balm Kit

October 15, 2012


Research:
I am a total lip balm addict, as is our entire family. I have two on my desk at work, a few stashed in my bag, and always one in the car. The thing about my lip balm is, frankly, I do not like to share, and therefore I can never have enough of fresh sticks or tins of fresh balm on hand!

Hypothesis:
I am thinking that since I am a creature of habit and typically buy the same flavors, making my own lip balm with the DIY Lip Balm Kit will give me an opportunity to experiment with a different range of scents; and since everything is provided for us it should be fool proof!

Experiment:
I knew my 12-year-old daughter Tea was super excited to experiment with me and could not wait to open the box and check out the contents. We decided to make a variety of flavors instead of 6 tins of the same flavor, so we raided our cabinets for essential oils and found a few interesting base scents. The kit comes with peppermint, so we opted for the peppermint, our tangerine oil, and added a chocolate oil to the peppermint (for the “never yet seen on any store shelf”) chocolate-peppermint lip balm.

Everything is well labeled in the kit and very organized and the instructions were very easy to follow. Basically all that was needed was a scale, a few mixing cups, a spoon, and a double boiler. It was very nice to see the cards had details on all the ingredients – informative and educational.

We wanted a “plain” balm first, so we threw all the ingredients to melt together–basically beeswax, cocoa butter, and sunflower oil–let that melt and filled the first tin with the unscented mix. There are really clear instructions on how to get the balm to be smooth on the top, and what to do if it coagulates.

Since we were doing a variety of flavors, we had to plan out the best way to achieve our assortment, and it seemed like the best way was to just mix the plain base with the oil right in the little tins.

We discovered that if you add too much essential oil, it becomes too strong and can burn your lips, so in this case less is more, as the natural oils are very concentrated.

Next came the peppermint, and since this was our last base flavor, we added peppermint right to the boiler, and mixed it well. After we filled the tins with peppermint, we added some chocolate to the nearly empty boiler, making our last mixture of chocolate peppermint.

The instructions recommended a curing/hardening period of a few hours. In the meantime Tea labeled the tins so we could be ready for action when the balms were set.


Conclusion:
This was a super fun, easy activity that was basically fool proof. We over-scented one tin but found you could dilute the mix by added more wax/base… so all in all it was very fun, we achieved great results and had a lot of fun doing this together! I was very happy to have all the instructions ingredients provided for us, and know that if we want to continue another time, we just need to seek the ingredients. We still have the tins and the recipe, and the know-how; I am sure we’ll give it another try and even experiment with some more flavors next time!

The Uncommon Life

A Rockin’ Sinangag (Filipino Garlic Rice) Recipe

August 31, 2012

I had a bunch of leftover cooked jasmine rice in the fridge and a new UncommonGoods gadget I wanted to try, the Garlic Rocker. So I did the math and came up with Garlic + Rice = Garlic Rice. Clever, eh?
Googling “garlic rice” in search of a recipe led me to the discovery that in the Phillippines, it’s a breakfast staple called “sinangag” in Tagalog. Garlic for breakfast?! I was on it like white on rice.
Because fried rice doesn’t require exact measurements–you can judge just by looking how much of each ingredient you want to add to it–I looked at several recipes and more or less winged it from there. (The recipe links are at the bottom of this page.) I also consulted UncommonGoods’ two Filipino software developers, Albert Tingson and Orlando Geronimo.
Orlando (right, in photo) said, “How about if you bring the sinangag to work and we’ll have a good breakfast with some tapa and fried egg. We call it ‘Tapsilog.'” All three of us were enthused about this idea until we remembered that we have no way to cook fried eggs at work.
With any kind of fried rice, you want to get all the elements (except herbs, if you’re using them) cooked and chopped before the “frying” begins (actually, sautéeing in my case, as I used a flat pan instead of a wok).
I put some “fancy” generic store brand frozen peas in a bowl and defrosted/cooked them in the microwave. When they were done, I set them aside.I started scrambling a couple of eggs. The secret to good scrambled eggs is low heat, minimal scrambling, and removing the eggs when they’re still slightly underdone, because they’ll cook a little more from their internal heat. That way, the eggs turn out soft and delicious rather than rubbery and tasteless.
When the eggs were done, I sort of stab/chopped them into irregular, bite-size chunks with the plastic spatula I was using in the non-stick pan. Then I set them aside.I took my leftover rice out of the fridge and broke up the stuck-together hunks so that it’d be ready to be scattered into the pan when the time came. I set that aside, too.Then I cut each garlic clove in half lengthwise so that it would lay flat and stable.Now I was ready to ROCK. I pressed the rocker down onto a nice, fat garlic clove and rocked it back and forth to cut through the whole clove.Oh, how beautiful the results were. Perfect little bullets of garlic that resembled part of a honeycomb. Without bothering to scrape off the “bullets,” I put another couple of cloves underneath the tool and pressed/rocked them, too.Because I’m a garlic glutton, I rocked a few more cloves. Then it was time to sauté the garlic bullets.
I used peanut oil. Chinese cooks normally use it because it has a high “smoke point” – meaning it can get a lot hotter than, say, canola oil, corn oil, or butter, before it starts smoking and burning. Also, its flavor goes better with Asian food than olive oil’s does. (If you live near an Asian grocery, buy it there. It’s a lot more expensive at typical American groceries.)I put maybe three tablespoons more into the pan than I needed for sautéeing the garlic, so that there’d be plenty of gloriously garlicky oil left over to fry the rice with.
I’m an impatient cook and I hate to watch over things, which is why I very often overcook my hamburgers and burn my garlic. Burning garlic ruins it. It tastes really acrid and bad. So I made myself pay attention and kept the heat low-ish. I didn’t ruin it! OK, actually a few pieces were overcooked, but I deleted them.One of the recipes I’d found said to add the rice to the garlic in the pan, but I didn’t want to risk cooking the garlic any longer. Instead, I set it aside with the other prepped ingredients, leaving as much as possible of the now-flavored oil in the pan.
It was time to put together the sinangag. I raised the heat to high and added the rice, stirring it in order to make sure it all got some oil on it. I cooked it for maybe three minutes, not enough to brown it, but sufficient to get it hot and give it some of the character of the hot oil. You can smell when it’s right — it’ll remind you a little bit of popcorn cooking in oil.
I added the peas and eggs and stirred to more or less evenly distribute them in the rice and to get all three elements to flavor-kiss a bit. Then I turned off the heat, added the garlic, and stirred some more. A wave of garlic bliss came over me while putting so much into what was only a couple of servings of rice.And there you have it. In imitation of the photo accompanying one of the recipes I’d found, I pressed it into a little bowl-type thingy (I don’t know what to call it because it isn’t round like a bowl — mini-crock?) and made it look all nice and photogenic.
I served some of it into a bowl that I know is an actual bowl because it’s rounded, added a couple of dashes of soy sauce, and dug in. It was a beautiful, heavenly, garlic symphony, much more than the sum of its humble parts.

Recipe: Sinangag (Filipino Garlic Rice)

Ingredients
(I’m not giving amounts because it’s up to you and how much leftover rice you have.)

Leftover cooked rice (it should be at least one day old)
Frozen green peas
Eggs
Garlic cloves (lots)
Peanut oil
Salt or soy sauce

Preparation steps
1. Break up the rice if it’s sticking together; set aside.
2. Defrost and cook the peas. Set them aside.
3. Gently scramble the eggs; then break them up into small pieces. Set them aside.
4. Peel and cube (or “rock” – but do not use garlic press) the garlic into quarter-inch-size chunks and saute until golden–not dark–brown.
5. Set frying pan or wok on a burner and set heat to high.
6. As soon as oil has a subtle, shimmery sheen (but before it smokes), add rice and cook for about 3 minutes, until the rice is hot and perhaps very slightly browned in a few places, but no more. Turn heat down to medium.
7. Add the peas and eggs and stir to mix; cook for about a minute.
8. Turn off heat; add garlic and stir.
9. Add salt or soy sauce to taste.

Recipe links
Sinangag – Filipino Garlic Fried Rice
Garlic Fried Rice
Sinangag – Eggs and Peas Fried Rice
How to cook fried rice (Sinangag na Kanin)

The Uncommon Life

Baby Shower Decor: DIY Tassel Garlands

July 30, 2012

Paper tassels garlands are so popular now. And rightly so – they add the perfect pop of color and whimsy to any room or party space. And they’re fairly easy to make… with a small team of crafty friends you can get through a couple yards of garland. Last week I embarked on making over one hundred paper tassels for a friend’s shower and thought it would be the perfect decor DIY to share during Baby Week!

Here are the steps I took to make my paper tassel garland:

Lay the tissue paper on a flat surface so one of the shorter sides of the rectangle is facing you. Fold the tissue paper in half lengthwise. Turn the tissue paper so the long, open edge is facing you and the folded side is on top. Fold in half twice widthwise.

Cut thin strips from the bottom, open edge to the folded edge, leaving a one inch space. I used a rotary cutter for speed but plain craft scissors will do.

Open up the paper and lay it out with the fringe out to the left and right. Comb all fringe so the paper lays flat.

Roll the paper up from one end to the other.

Now your tissue paper should look like a pom-pom or Red Fraggle’s hair. Make sure your fringe is combed while you are rolling. Once the entire piece has been rolled up the delicate fringe can break if you try to comb it.

Twist the center of the pom-pom.

As you twist, fold the pom-pom in half creating a small loop. Use glue or a clear twist-tie to secure your tassel on string or twine.

Marvel at your perfect tassel, but not for too long. Get back to work! One tassel does not a garland make!

Have you made a paper tassel garland? Tweet photos of your tissue paper masterpiece at @UncommonGoods.

The Uncommon Life

DIY Project to Welcome Baby by Rubyellen of My Cakies

July 30, 2012
baby artbaby artbaby artbaby artbaby artbaby artbaby artbaby art
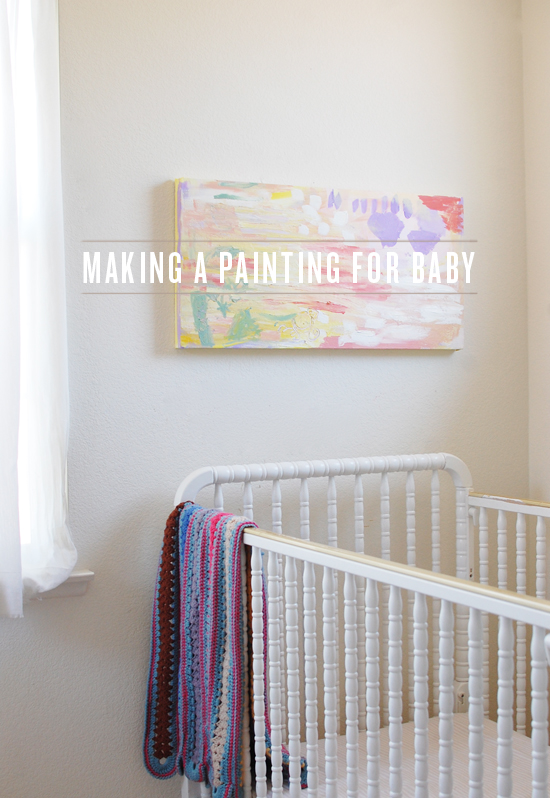
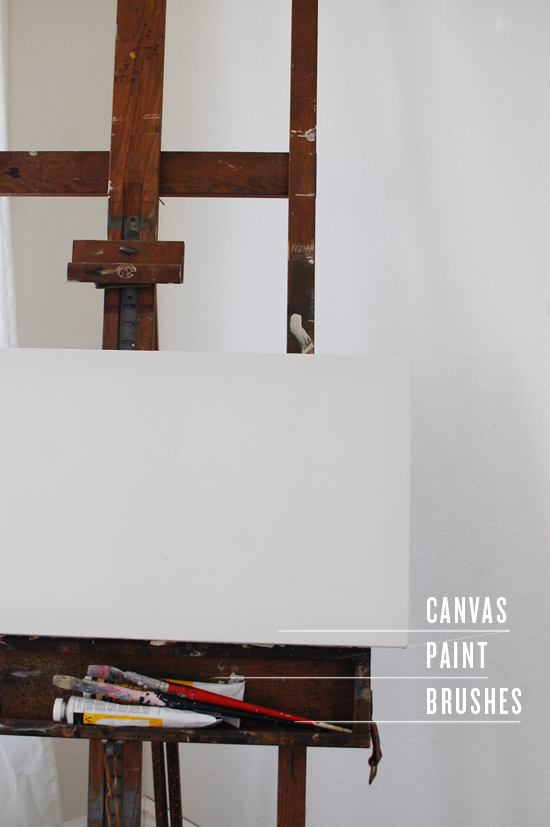
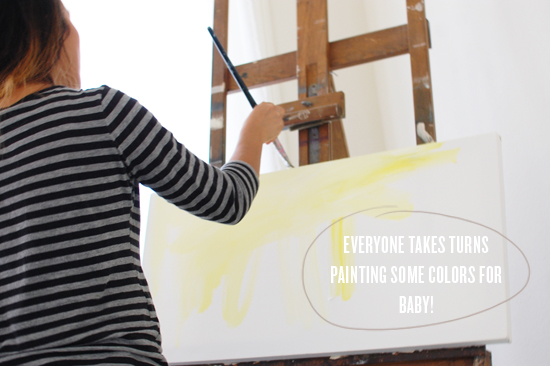
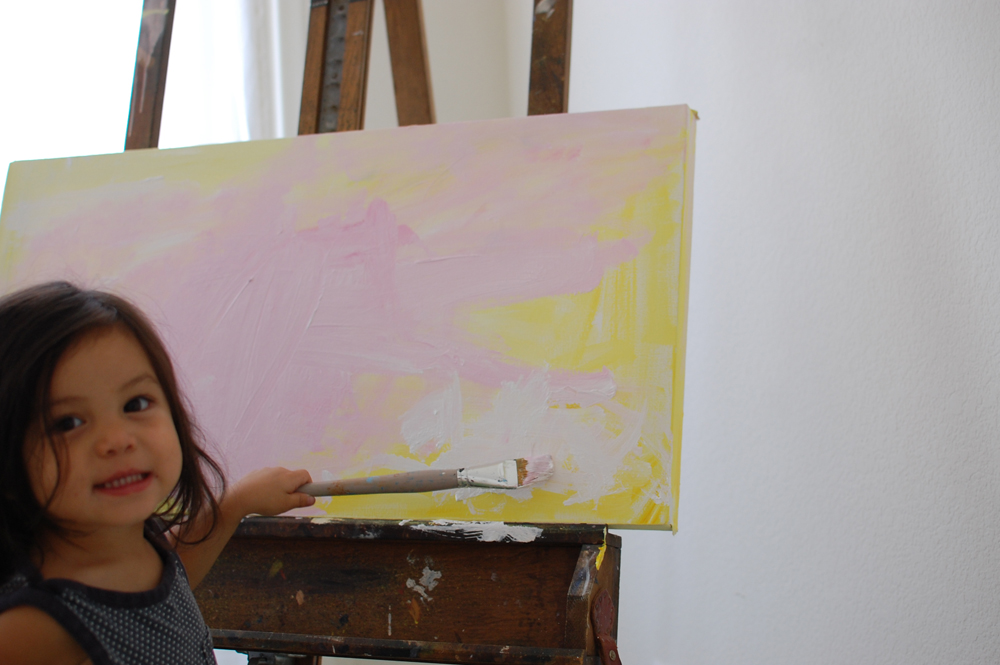
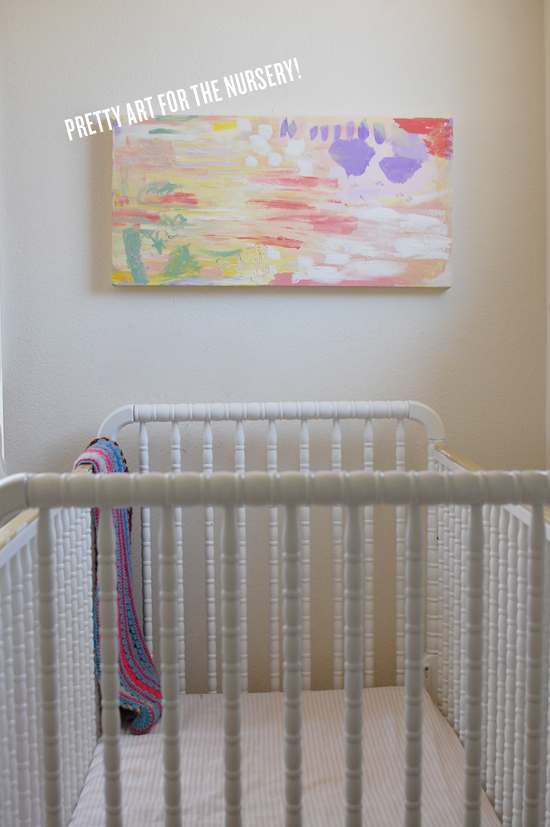
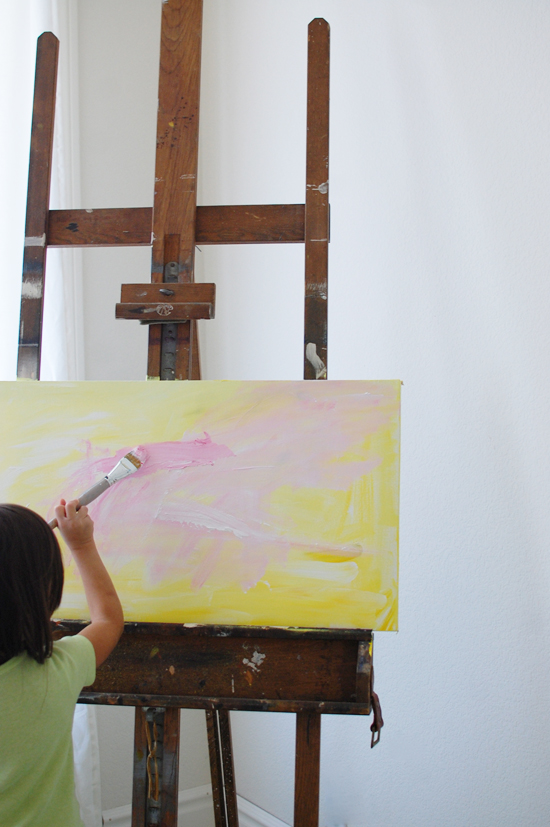
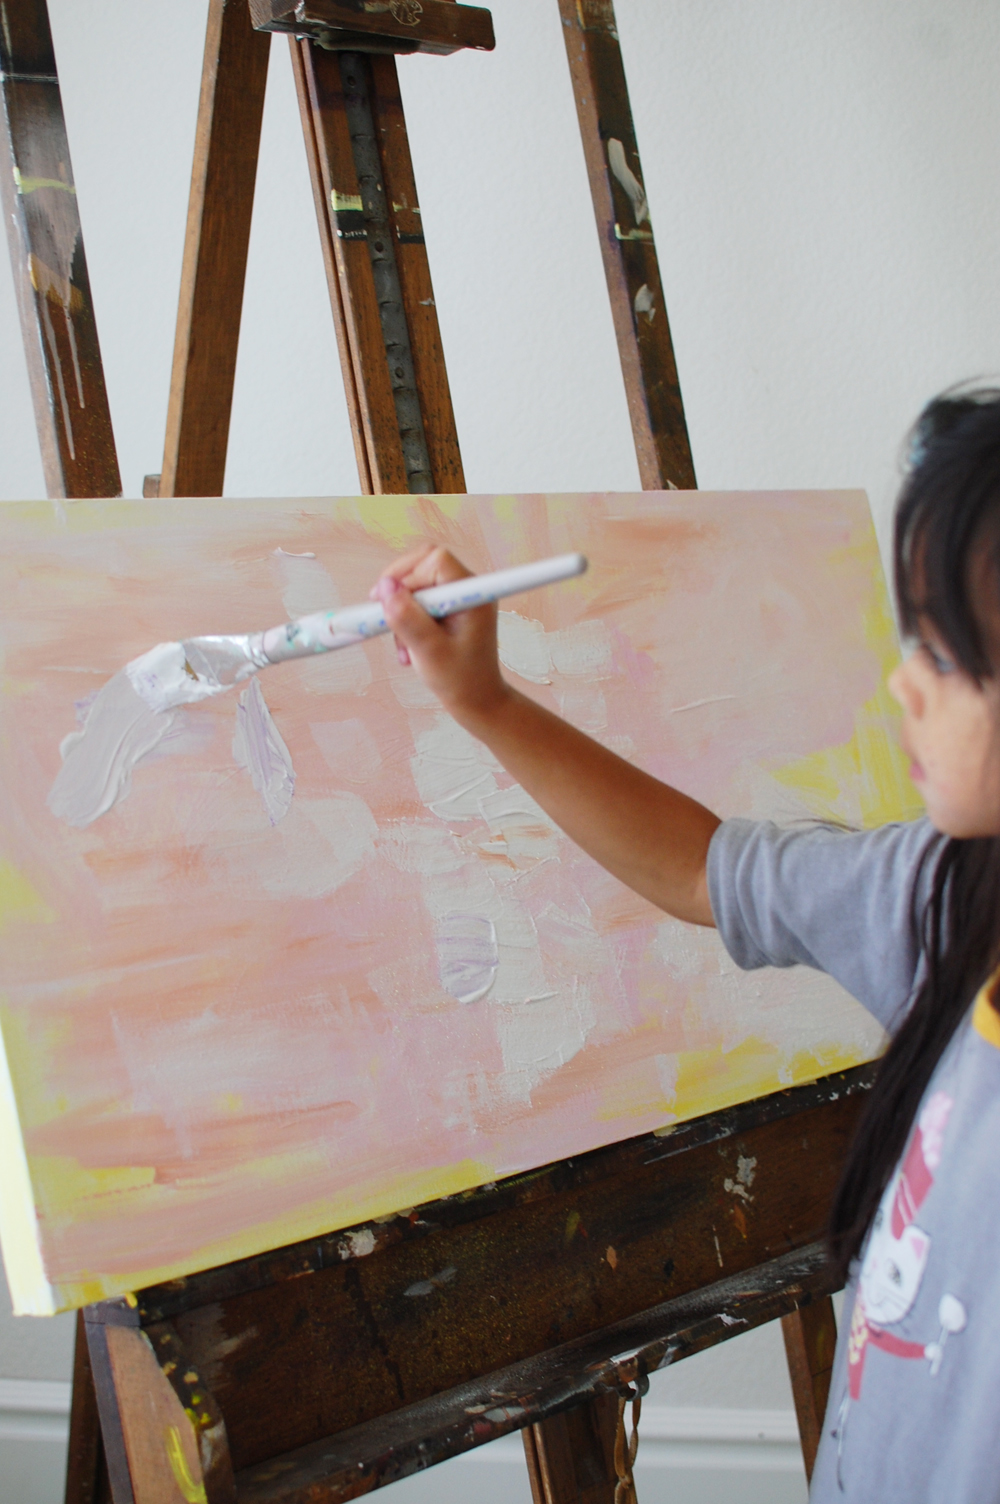
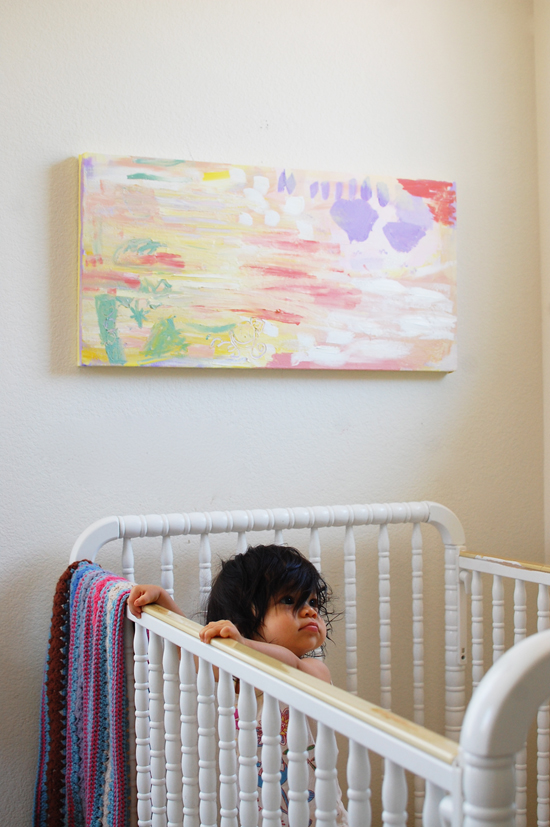
Collaborative family projects are the best. We first did a family art piece (see here) before Soul was born and now we finally got around to creating one for Glow. I asked the girls what colors come to mind when they think of their baby sister and those are the colors we used. All of us took turns painting on it and we went back a few times to let layers dry before adding more. It’s a sweet pop of color perfect for a baby room! 

We loved Rubyellen’s idea of coming together before a new baby is born and creating a piece that is unique and memorable from the entire family. It not only can serve as a personalized piece of art but a special keepsake for the rest of their life! Visit Rubyellen’s blog, My Cakies, to learn more about her incredible family and check out her hand-picked collection of UncommonGoods baby gifts.

The Uncommon Life

Oh Baby! A Week of Baby Gifts and DIYs!

July 30, 2012

It’s a Boy! It’s a Girl! It’s Baby Week here at UncommonGoods. We are celebrating everything related to the little bundle of joy — from baby shower DIYs to gifts for babies.

Visit the hand-picked collections of UncommonGoods baby gifts from our featured bloggers like:

Justina Blakeney

Design For Minikind

Cakies

Oh Dear Drea

Browse through our Oh Baby Pinterest board dedicated to the pitter-patter of little feet and all things baby.

Don’t miss the blog this week! We have DIYs for baby showers, baby gift ideas, Justina Blakeney’s favorite baby Pinterest boards, and more.

Sweeten Up A Baby Shower

Raising Your Kids Green

Top Baby Gifts From Our Buyer

A DIY Project to Welcome the Newest Addition to Your Family by Rubyellen of My Cakies

Justina’s Favorite Baby Pinterest Boards

DIY Baby Shower Decor: Paper Tassel Garlands


Design

Justina Blakeney’s 5 Favorite Baby Pinterest Boards

July 30, 2012

Hello fellow uncommoners! I’m Justina, a designer, curator and blogger and soon-to-be mom! (my due date is this week — ahhh!) I am also hopelessly addicted to Pinterest. I have over 50 boards that I use to collect ideas and inspirations for every aspect of my life. My Little Boomba board was instrumental in helping me to come up with ideas of how to decorate my nursery, what items to add to my baby shower registry, must have eco-friendly toys and clothes…and a ton of other wacky and awesome ideas. With over 1,000,000 followers on Pinterest, some of my pins were loved and some created quite a stir–but ALL of my pins got me excited to start this new chapter of my life as a mom.

I am thrilled to be here today to share The Goods with you: some of my favorite baby-centric Pinterest boards by some of the most stylish ladies around. These are mommas that have inspired me throughout my pregnancy and helped me get ready for this huge leap into motherhood. Get ready to start repinning!

Designer and Design blogger Joy Cho is a friend who has helped me a lot throughout my pregnancy–so open and positive, she’s been awesome. Her nine-month old Ruby also has some killer hand-me-downs. Her baby board is a fave, especially for the clothing.

Janet Sherman who has a kids clothing line, has a few really great boards for kids and babies–and I just dig her style. It’s playful and carefree.
My friend Sofia Alberti, who just had her second baby has my go-to board for boho baby finds, especially for decor. It’s a magical little place.

Hanae Ono’s Kids Wear board is another favorite.
Deborah Beau has several sweet kid’s boards, one of the most inspiring, in my opinion, is her Crafty and Creative and Colourful boards– with over 1000 really sweet craft ideas for kids.

Check out Justina’s favorite baby gifts from UncommonGoods!


main image by Annie McElwain. featured image by Bonnie Tsang. courtesty of Justina Blakeney.

The Uncommon Life

How to Style Agate Centerpieces

June 11, 2012

Whether you are throwing a backyard dinner party or planning a wedding, centerpiece ideas are sometimes a daunting task. They are the focal point of your sit-down meal and can really bring a room together if they are styled right. Although the Agate Cheese Platters are great for serving up snack, they are also versatile and could fit into a number of decor schemes. On the bottom of each platter are three rubber bumpers which creates a nice platform. The jewel-tone platters also have a natural shiny finish so they will glow in the dim light of a party.

I was interested in seeing how the Agate Cheese Platters would work in a centerpiece design, I took them home, put my decorating hands to work and came up with three different ways to style them.

CRAFTY
Some of the cutest centerpiece ideas out there are composed of found items. Make your centerpieces personal with a craft touch. Create a small penant banner with washi tape and neon twine and string it between two tall sticks. I used wooden knitting needles but another great option are painted twigs. Personalize a mason jar by wrapping it in colored yarn or twine. Lastly, I pulled some guitar picks and a harmonica from our collection to add some personality to this table decoration.

CHIC
These eggplant platter just scream glamour to me so I wanted to see a sleeker look. I pulled out some crystal and glass candle holders that would reflect nicely when the lights get low. Around the platter, I sprinkled some white flower petals to soften the entire look. I only wish it was dark enough to test the glow of the platter in candlelight but was pleased to see the reflection of the crystal on the platter.

RUSTIC
I thought it would be an interesting contrast to add some rustic charm to the polished platters so I started with an old honey jar of white flowers tied with natural twine. I set the jar in a bed of dried moss from the craft store and scattered small twigs and stones. I was so happy with the little enchanted forest I created.